Getting Started
Requirements
SourceShield can be installed on GitHub user accounts or GitHub Organizations. SourceShield does not currently support GitHub Enterprise Cloud or self-hosted, but support for these platforms is coming soon.
SourceShield is currently in beta and only functions on public repositories. To participate in our beta program for private repository support, please submit your interest here.
Installing SourceShield
SourceShield is installed as a GitHub Application.
At installation time, you can select which GitHub repositories SourceShield has access to.
Configuring SourceShield
By default, SourceShield will not run on any repository, pull request, or issue until a configuration file is defined.
A configuration file, called sourceshield.yml must be created in the .github folder of each repository you want to enable SourceShield on. Within the .github/sourceshield.yml file, you can define the exact way in which SourceShield should operate within the given repository of your GitHub account or organization.
For more information on the config file format, see Config File Reference.
Minimal Config File
If you’re just trying to get started quickly and confirm the installation is working, you can copy and paste the following config file YAML to your .github/sourceshield.yml file:
commands:
  enabled: true
Testing the Installation
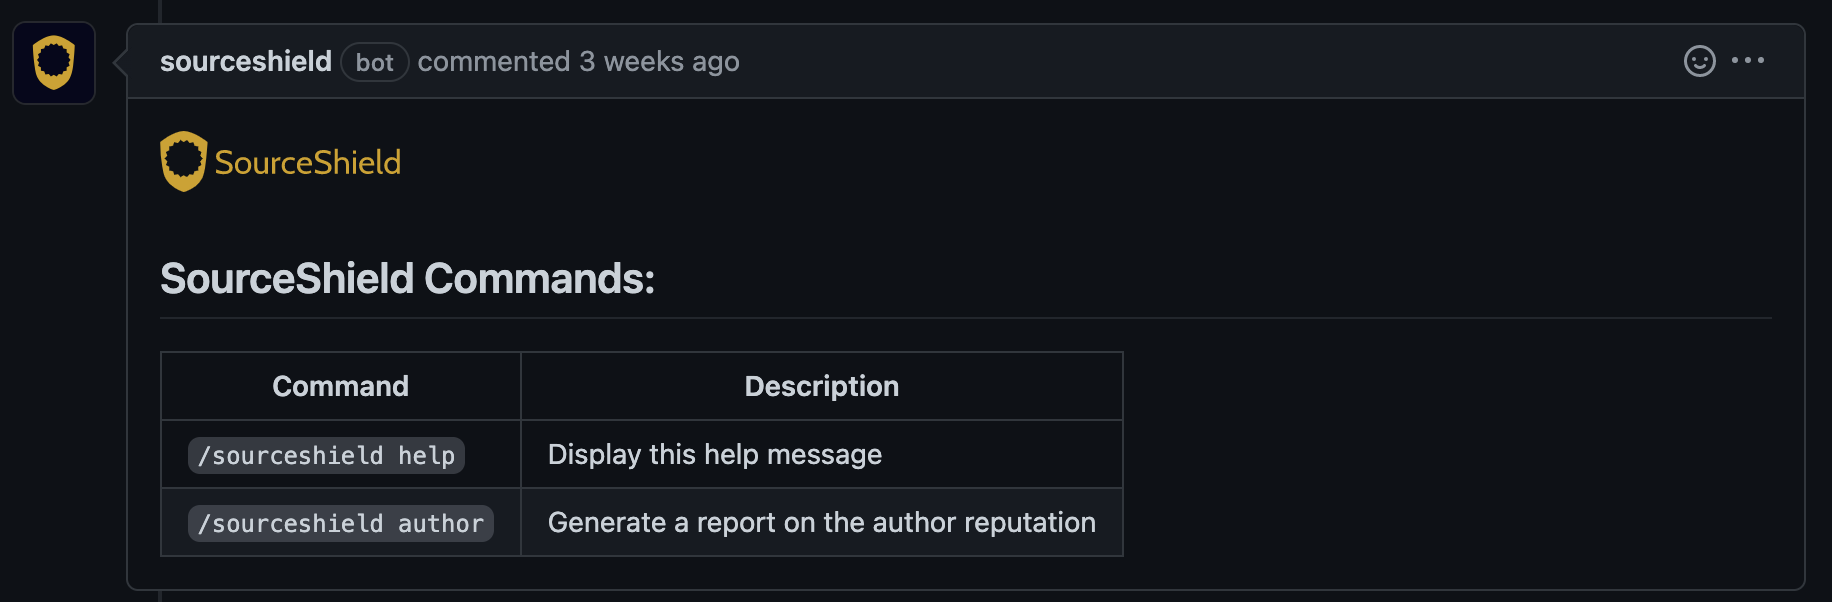
Once SourceShield has been installed and the .github/sourceshield.yml config file has been committed to the main branch of a repository, you can test that SourceShield is working by picking an existing GitHub issue, or creating a new one, and submitting the following text as a comment:
/sourceshield help
Within a few seconds, you should see the following comment appended to the same issue, from the SourceShield bot:
Next Steps
If SourceShield is working, you can:
- Configure security checks to run on pull requests in your repositories.
- Browse the available commands you can use on issues and pull requests.